You are able to create an application to connect to Fulfill Engine within the Shopify Partner and Dev Dashboards using a Client ID + Secret.
To build a custom app directly within the merchant's environment you must be the Shopify store owner.
The following permissions must be granted:
- Orders: This allows you to connect the app to Fulfill Engine.
- Products: This allows you to connect the app to Fulfill Engine.
- App development > Develop: This allows you to create and manage the app.
- Manage and install apps and channels: Necessary to access the settings where apps are created.
- Enable development: Required to grant a user the authority to build custom apps.
This guide walks through creating the Shopify app in the Partner Dashboard, assigning required API scopes, creating and releasing an app version, and distributing the app to a merchant store.
What you will need
- Access to the Partner and Dev Dashboards
- Merchant Shopify store domain (example: storename.myshopify.com)
- Access to an Account within Fulfill Engine's software
Step-by-step setup
1. Open the Apps view within Shopify Admin Settings
From the Shopify Admin homepage, select Settings in the bottom left-corner of your screen.
Within Settings you will select Apps > Develop apps.

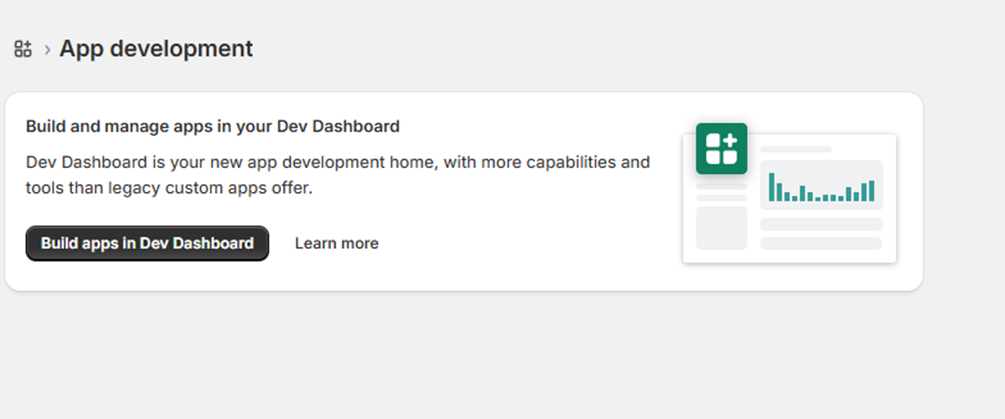
2. Open the Dev Dashboard
Within the App development page, select Build apps in Dev Dashboard.
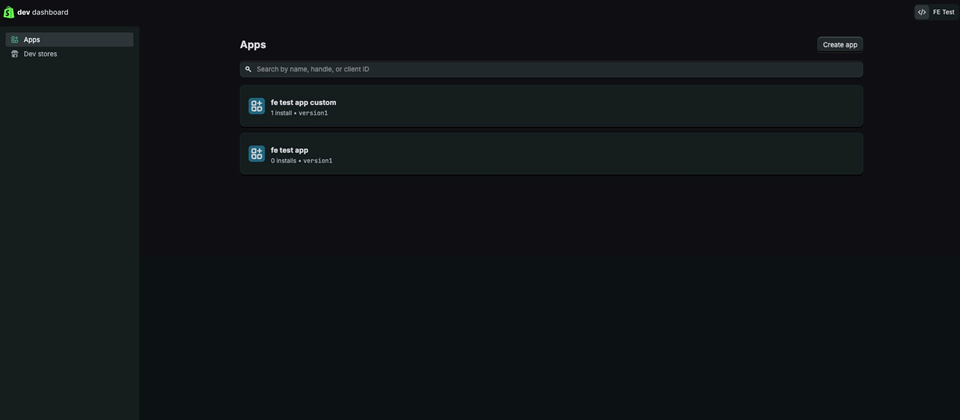
3. Create a new app
From the Shopify Partner and Dev Dashboards, navigate to Apps and click Create app.
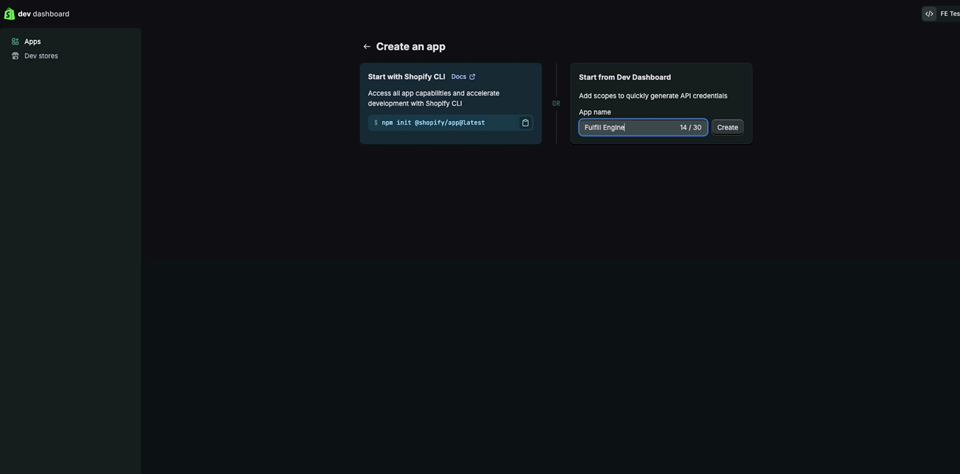
4. Create the app from the Dev Dashboard
Choose “Start from Dev Dashboard" (right side), enter the app name, and click Create.
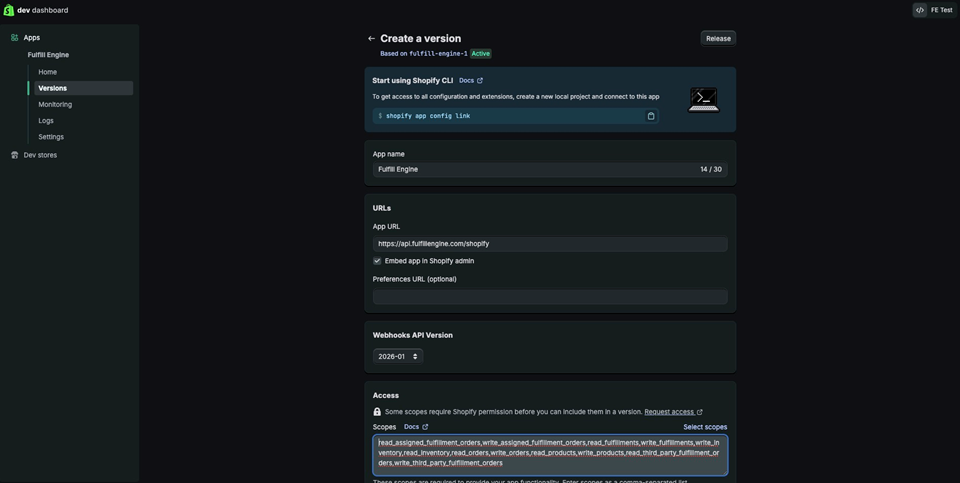
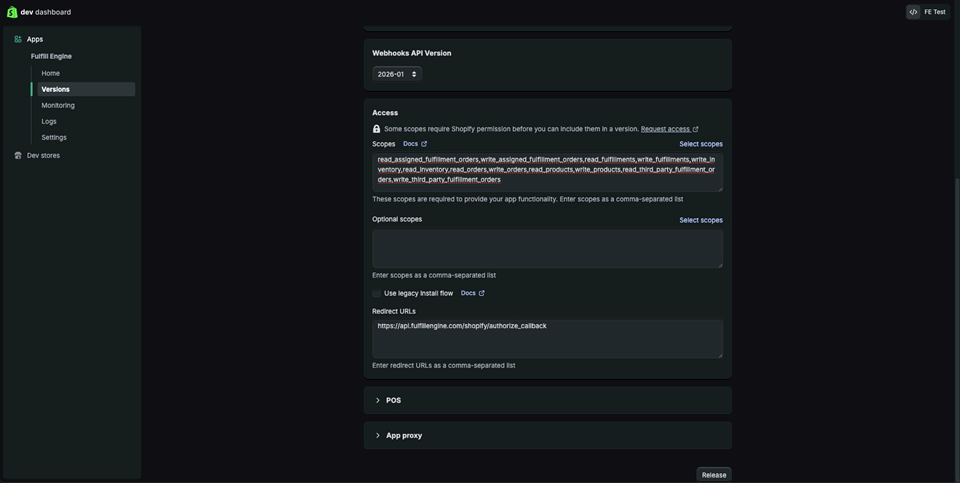
5. Create a new app version and configure access
Navigate to Versions and begin creating a new version. Confirm the App URL and Redirect URL and, then proceed to configure scopes.
Redirect URL should be: https://api.fulfillengine.com/shopify/authorize_callback
Paste the required scopes exactly as shown below
read_assigned_fulfillment_orders,write_assigned_fulfillment_orders,read_fulfillments,write_fulfillments,write_inventory,read_inventory,read_orders,write_orders,read_products,write_products,read_third_party_fulfillment_orders,write_third_party_fulfillment_orders
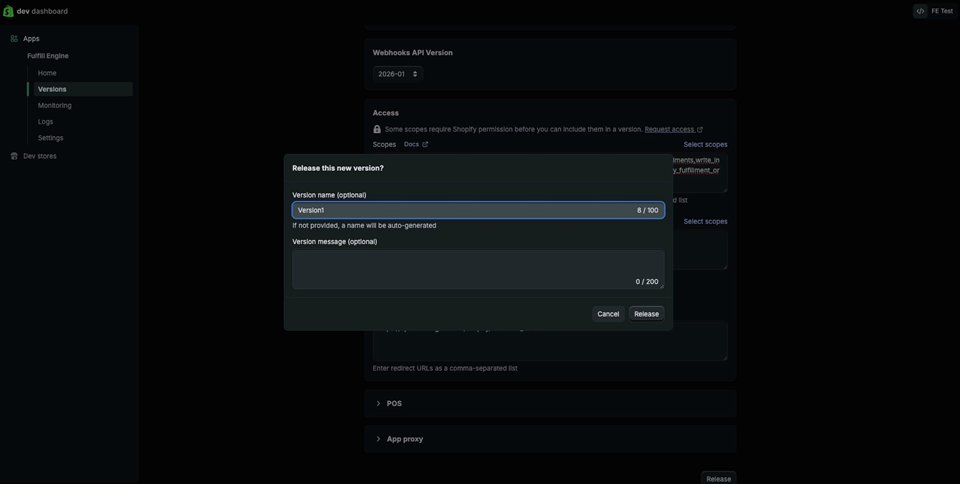
6. Release the app version
After confirming all settings and scopes, release the version. (name is optional)
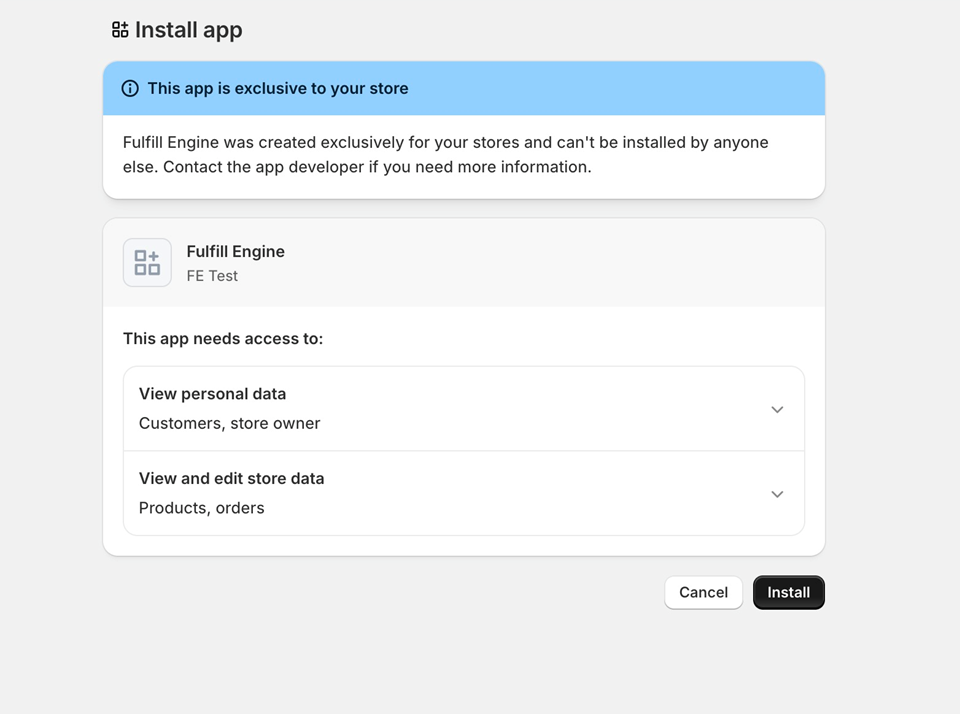
7. Install the app in the merchant store
Paste that link provided into the URL and click “Install”
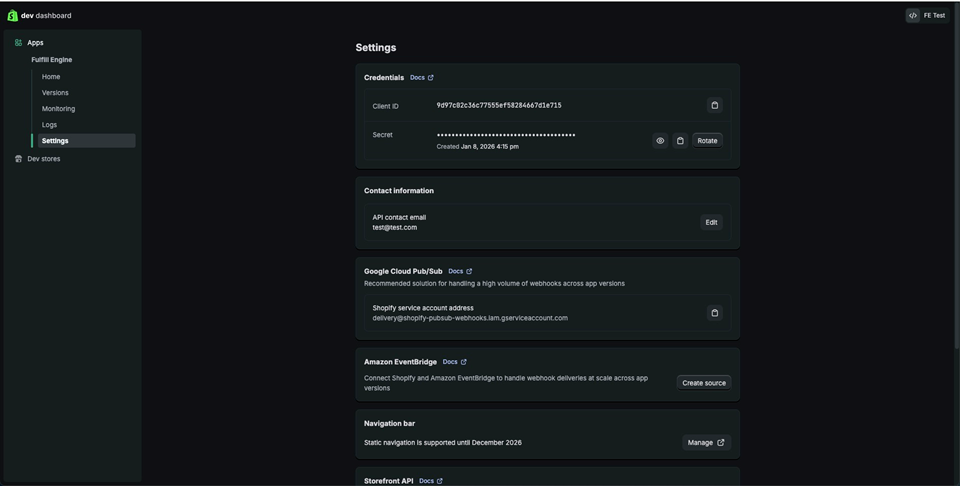
8. Copy Client ID and Secret
Once installed, go back to the Dev Dashboard, then settings to reveal the Client ID and Secret.
9. Connect the app in Fulfill Engine
Follow that process here.
Notes and troubleshooting
- API scopes must match exactly; missing scopes will cause authorization failures.
- If scopes are updated, a new app version must be created and released.
- If credentials are rotated, they must be updated in Fulfill Engine.