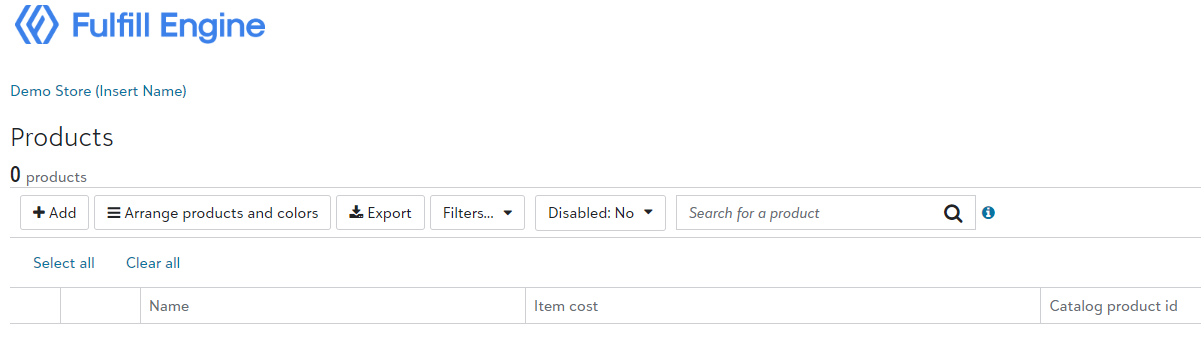
First select the Products option from your store's dashboard. And select to +Add a new product.
You will then be prompted to select your decoration method. These options are set based upon your form requests.
Once you select the decoration method, you will be prompted to the catalog. Here you are able to search for new products, or quickly navigate to a specific item by searching the SKU number.
1. Upload art: upon selecting the garment, you are able to select your art file and select the size, placement, and other details.
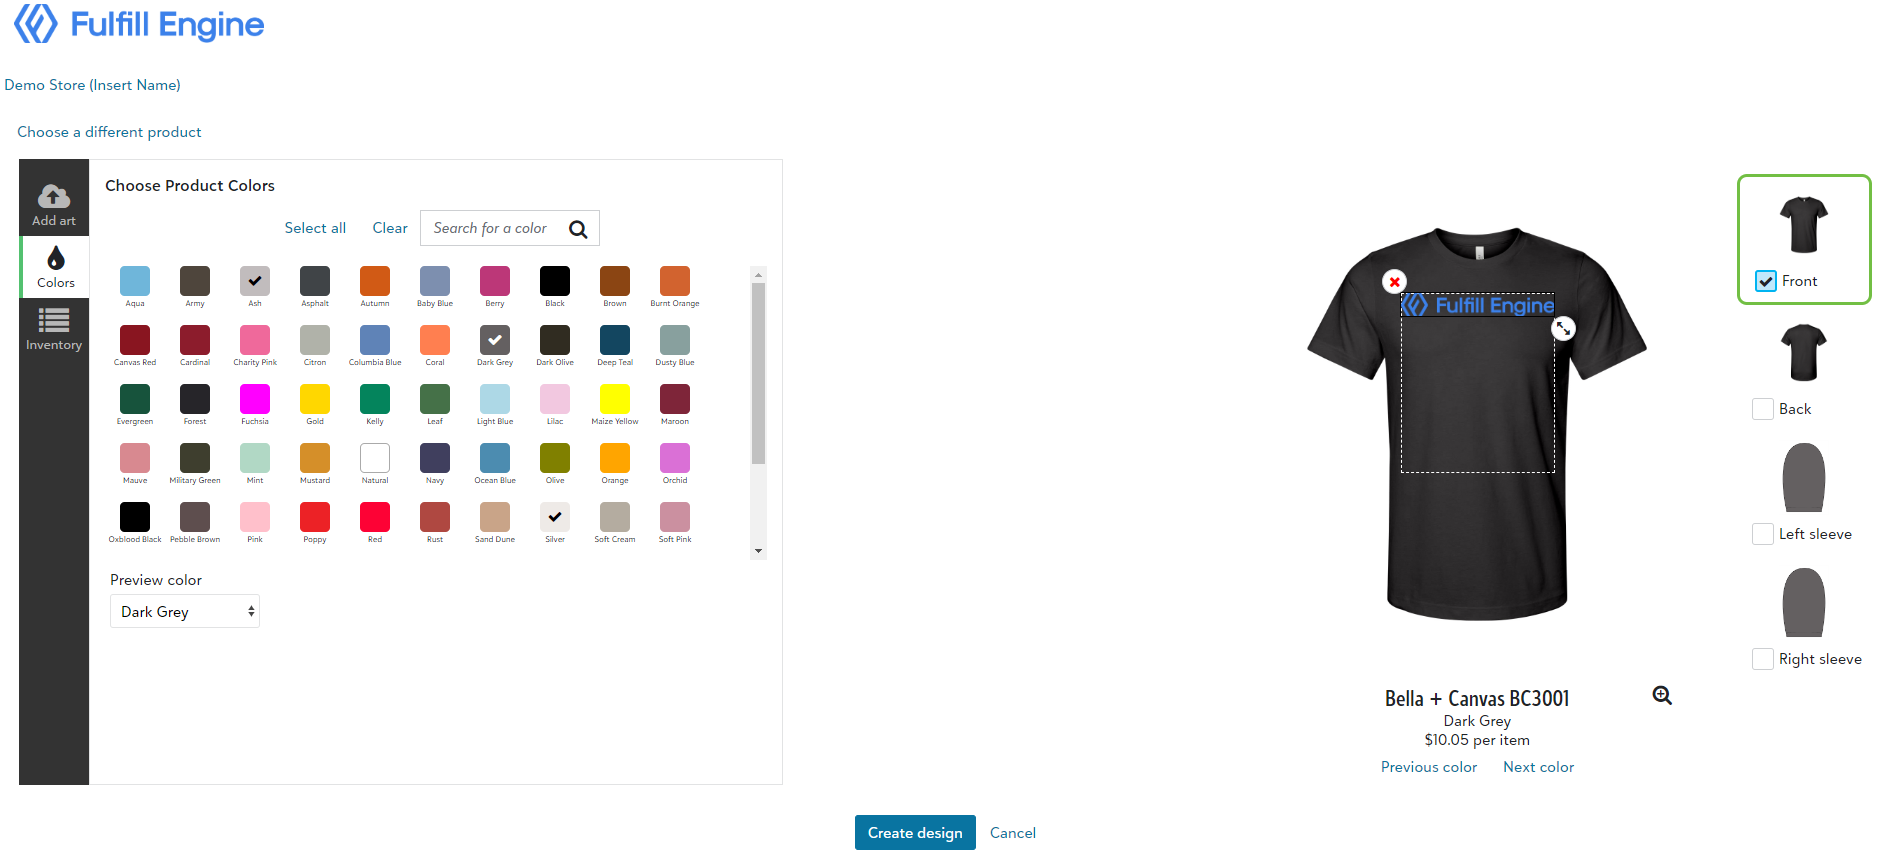
2. Select the garment colors. You are able to offer your design on a variety of garment colors with a few clicks.
When you select the garment colors, a mockup will automatically generate on the right hand side. If you have art set on the back and/or sleeve(s) of the design, easily select the location to view the mockup.
These are the mockups that will auto generate to your webstore.
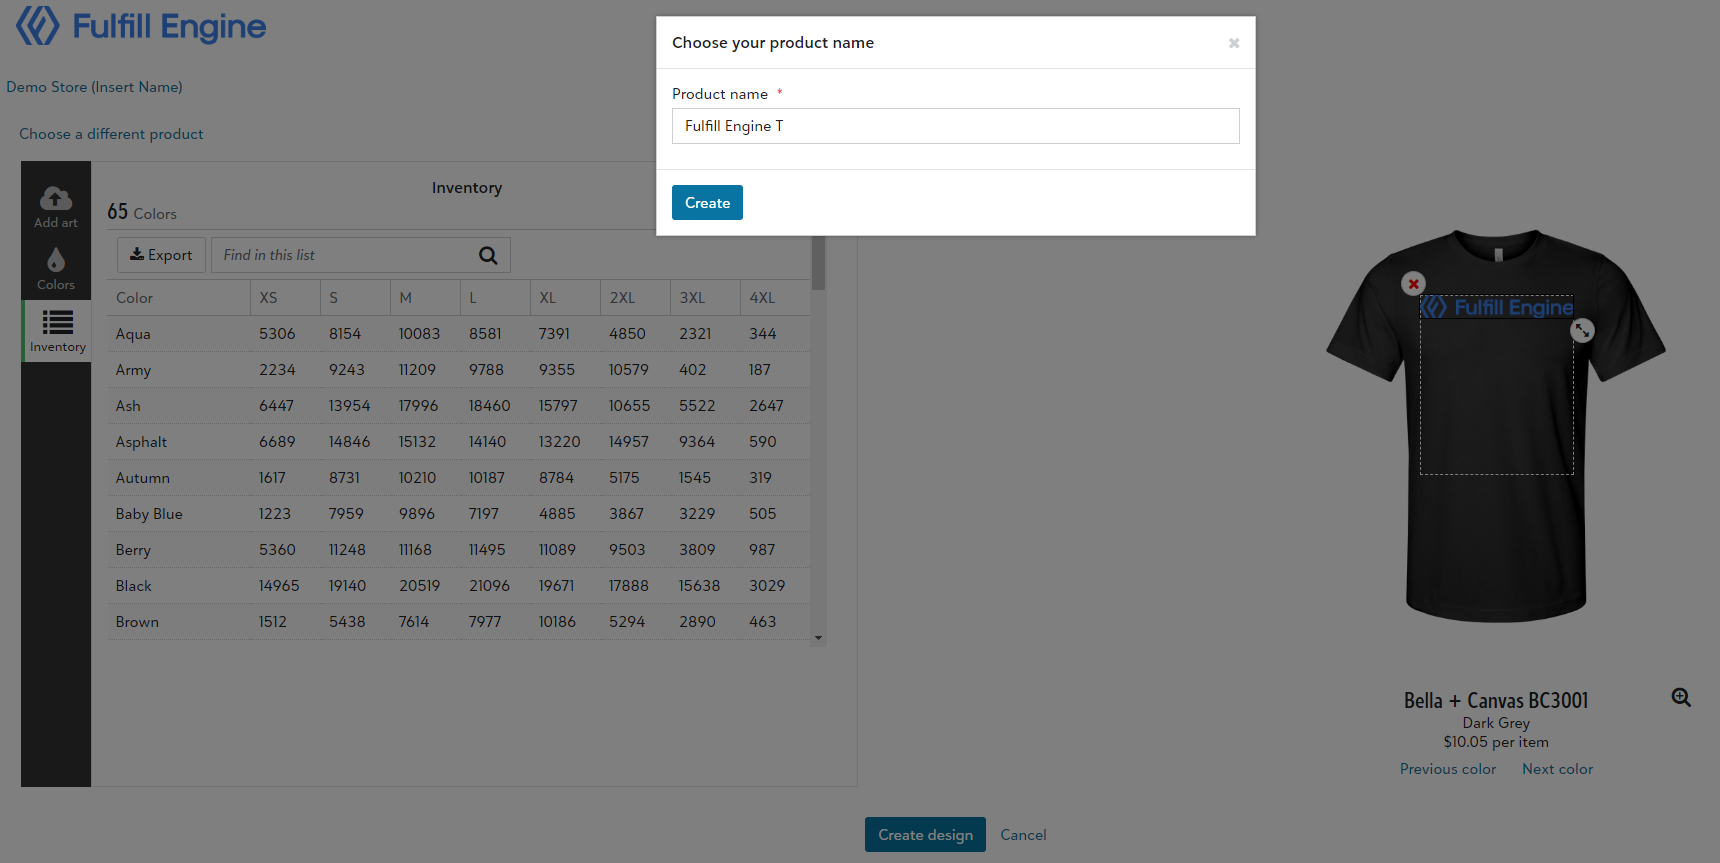
3. Confirm inventory: if an item is low on inventory a warning will populate. Since our inventory is pulled live from the suppliers, if something goes out of stock, the option to order will automatically be pulled from your webstore until it becomes available again.
4. Create and name product: select create design and you will see a popup asking you to name the product.
Congratulations! Your product has been made. However, the item is not ready to go live on your store just yet. Once a product has been made, you will be able to alter the product description as well as edit the design, color offering, and price.
Set Pricing
You are able to set your profit to either a set dollar amount, percentage, or a fixed sales price on the item.
When selecting a fixed sales price, your customer's final sales price will not change, but your margin is subject to change based on fluctuating garment and decoration costs.

TIP: If looking to pass along bulk discounts to your end customer through their white-label store, such as advertising to order more and save less, you will need to set up products to use a markup instead of a fixed price.
Nesting Products
Nested products is a functionality that enables you to merge products on the backend so they appear as one product on the frontend.
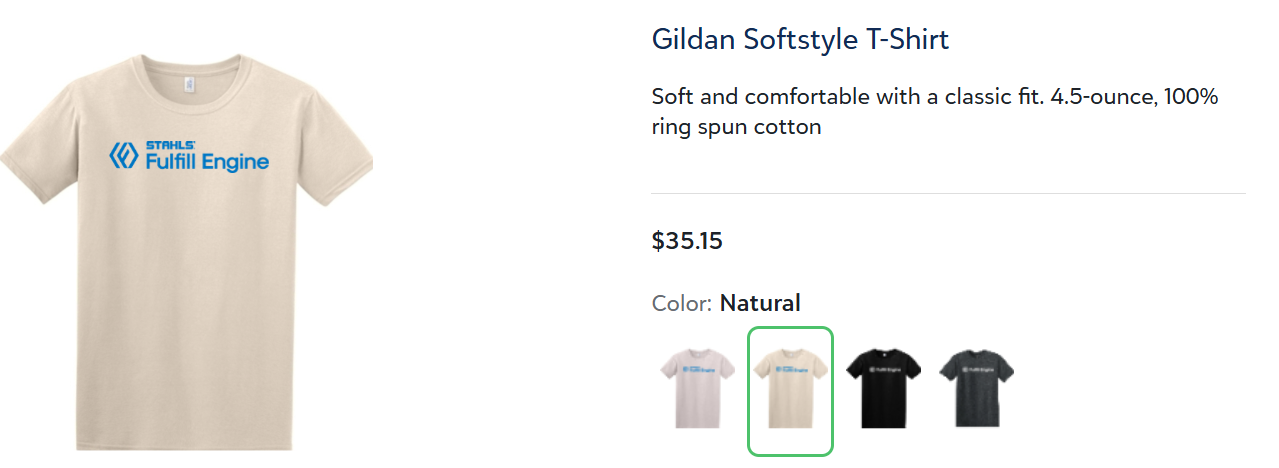
This is often the case when you have one product that comes in various design options based on the color of the garment. For instance, in the example below, there is a blue logo for light-colored garments and a white logo for dark-colored garments.
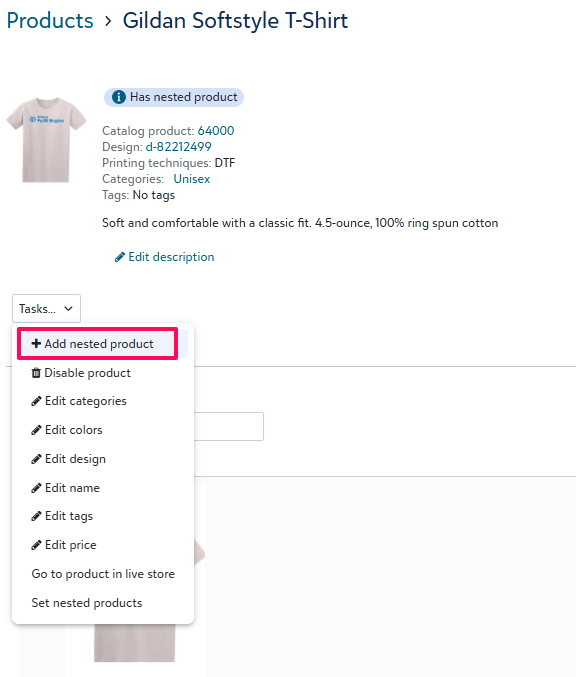
After the first product is build, you can add a nested product to it by selecting the Tasks dropdown > + Add nested product. This will make the first product the "Parent product."
This will take you back into the product builder and by default to the same product.
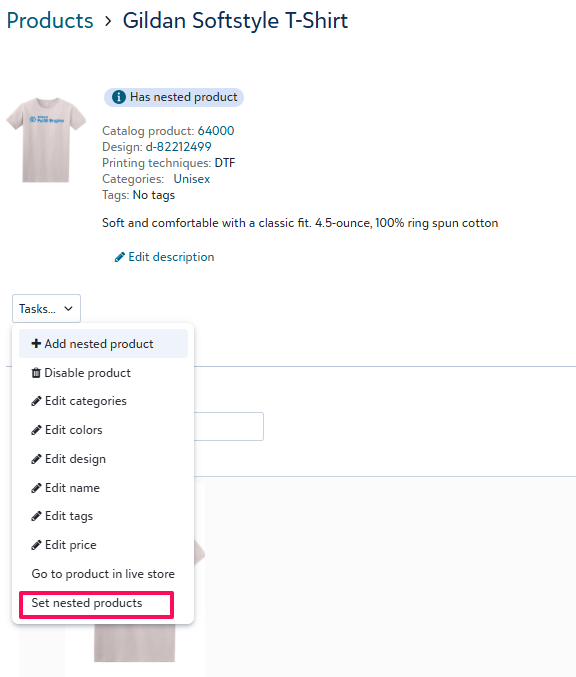
If the products have already been built, you can retroactively nest them. The item you select for this process will become your "Parent product."
From the Tasks dropdown > Set nested products.
Once connected, tabs will call out on the product view if it is a Parent product that has nested products, or if nested, what parent product it is tied to.

The Parent product will hold the item name and description as well the mockups within a parent product are the options that will show when selecting the main image that will show on the store.
You do have flexibility within a nested product to adjust the cost.
Categories and Formatting
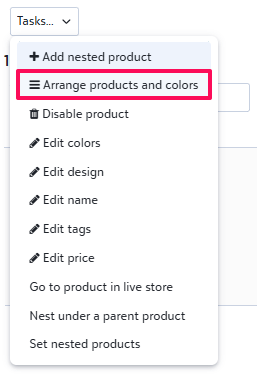
If your store does not use categories, from the Tasks dropdown within the product you will have the option to Arrange products and colors.
This will allow you to select the main tile mockup image, as well as arrange them within the product view.
Note: If you have nested products, only the parent product will show as an option for the main tile mockup image.
If your store is utilizing categories, when new products are created you will be prompted to select a category. This is because if an item is not in a category, it will not show on the store.
Dive deeper into categories here!
If you have nested products, only the parent product will show as an option for the main tile mockup image.
Preview and Activate the Store
If the store is not yet live, you can select to Preview store under the Tasks dropdown on your white-label store dashboard to view as an end customer would.
Once everything looks good, as an administrator, you will have access to Make store live for orders.

Still need assistance? Reach out to us at info@fulfillengine.com!
